 by
by KEY POINTS
AirTag Not Reachable Error?
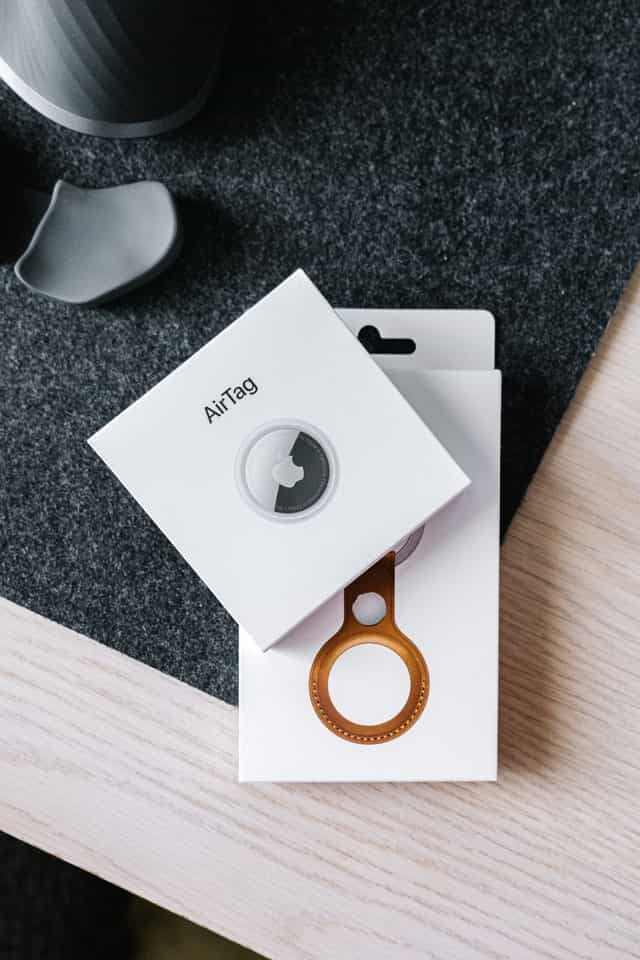
In 2020, Apple launched its most awaited Bluetooth trackers which were named as AirTag. The main purpose of this device was to help anyone find things that anyone can forget or lose at any time like a wallet, keys, etc. If you have used Apple devices then it would be pretty easy for you to set up this device. But if you don’t know how to do that then you need to hold these Bluetooth trackers “AirTag” near your iPhone then it will ask you to connect these AirTag at the bottom of the screen of the iPhone. AirTrag was available in stock from 30th April.

Once it is connected to your iPhone name this accordingly according to your use and connect this AirTag with anything which you need to track. It is quite easy to set up and use a device that does not need any tutorial. According to the reports many customers are facing issues related to their AirTag in which it shows an error that “AirTag not reachable” or “AirTag unreachable Move to connect”. Even if they are 10 feet from their AirTags.
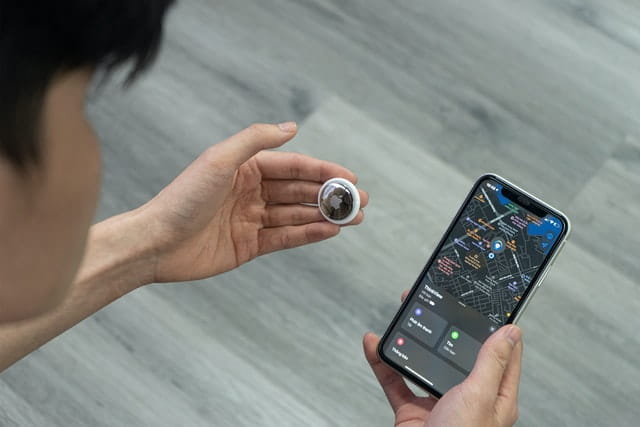
This error comes up when any customer or user tries to find their items that are connected to AirTag by playing a sound. When users open FindMyApp they see a warning in the red button highlighting that AirTag is inaccessible. If you are facing the same issues with your AirTag then you should read this article for sure. From this article, I will try to help you solve this problem at the earliest.
How to Fix “AirTag Not Reachable” Problem

1. Restart your iPhone:
If you have seen this error “AirTag not reachable” in FindMyApp when you try to get the exact location of your AirTag using sounds. The first thing anyone should do to fix this problem is to restart your iPhone. If this problem is because of any minor bug present in your iPhone then it will get fixed automatically. You just need to switch off your iPhone and then turn it on. Your problem will be resolved.
2. Check AirTag Battery Status:
You might be knowing that AirTag comes up with a CR2032 replaceable battery. Apple is presently using a 3V battery of Panasonic CR 2032. When AirTag was launched Apple claimed that this device comes with a battery life of almost around a year.
If you have recently purchased your AirTag a few weeks back then there is a possibility that your AirTag is draining out of battery. This doesn’t mean that your device has any fault in its battery. It is advisable to check the status of your AirTag before trying to fix other issues.
You can check the battery status of your AirTag by following steps:
- In your iPhone, open the FindMyApp application.
- Select the AirTag device that you need to configure for battery status.
- Check the name of AirTag in the application and you will be able to find out the battery status below the name of the device.
Now let’s assume that the AirTag not reachable error was due to the battery issue. Then you need to change the battery of your device. You can do this yourself or simply you can visit your nearest Apple Store and you can get your battery changed.
3. Remove and reconnect AirTag from your Apple ID:
If the reason for AirTag not reachable is not because of battery issues then you need to find the main cause for this error. When any user connects its AirTag to iPhone then it gets automatically added to your iCloud account. I will strongly suggest everyone remove this AirTag that is showing this error from your Apple Id. After removing this try to reconnect your device to see if the error gets fixed.
To remove AirTag from Apple iCloud ID:
In your iPhone, open FindMyApp and open the items tab. If your iPhone is connected to more than one AirTag, then select the faulty AirTag which you need to remove. Then drag that device from the bottom to upside to check the settings of your AirTag. In the settings tab, the last option present in the list will be deletion. Click on the delete this option and you will see a warning that will contain that you need to delete it from your Apple iCloud ID. After clicking on the remove button, the faulty AirTag will get removed from the iCloud.
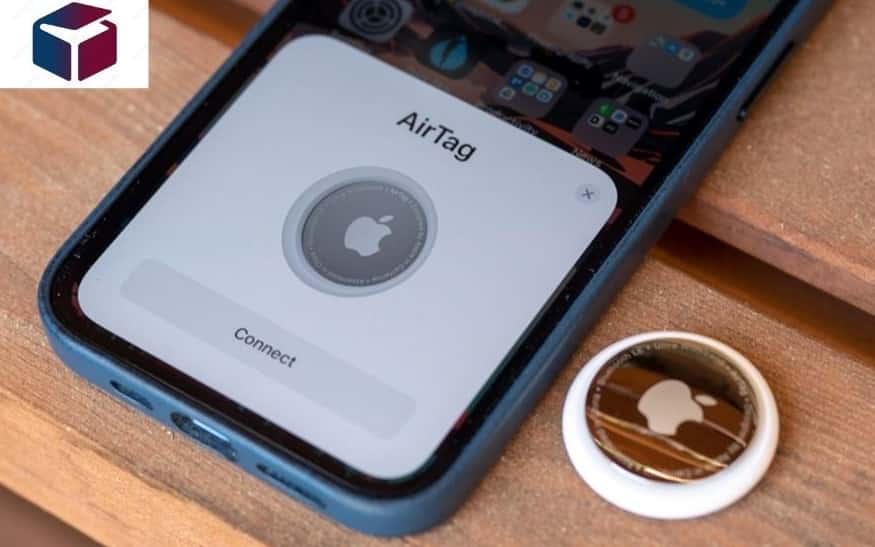
After removing your AirTag you need to reconnect that AirTag to your iPhone for this you simply need to bring your device close to your iPhone. You will get a popup notification at the screen at the bottom of your iPhone. Permit to connect. Tap on the connect option and name this device according to your convenience. This step can resolve your problem. Now try to play a sound.
4. Hard Reset AirTag Settings:
Although you have fired the AirTag from your FindMyApp, AirTag will not accept commands if the AirTag was not in Bluetooth coverage when you fired it. In that situation, you will have to hard reconstruct AirTag manually. The procedure to hard reconstruct AirTag is a bit disorganized. I will attempt to describe it easily.
The AirTag has two flanks, one with stainless steel and the other with white color. Press on the stainless steel part of the AirTag to attempt a factory reset. After pushing down, start spinning the cover of stainless steel counterclockwise. You have to spin it until it gets to the end and blocks spinning. Now you will be capable to divide the stainless steel side and the white side. This is the exact method that is being used to eliminate the battery of AirTag.
Eliminate the battery and keep it back where it was. Now push the battery until you don’t listen to any sound from AirTag. You might be assuming that it’s not done, recall I said the method is a bit boring. You have to replicate this procedure four times. This implies you have to keep the battery back and push on the battery to listen to the sound a total of five times.
When you have completed the procedure and heard the sound five times. Now put the cover of stainless steel on the airtag. The cover will be having three tabs on it, ensure to align them with the three slots supplied on the tracker. After the alignment is completed, press it and you will listen to a sound. Now twist the stainless still side so that the AirTag closes as before. Cheers You have finished one of the tedious hard reconstruct procedure that you must have ever seen on an instrument.
Now bring the AirTag nearer to your iPhone and it will pop up at the base of your screen with a controller to connect. Click on it and finish the normal setup procedure. This should resolve the difficulty for most users.
5. Ask for Replacements:
If you have tried to resolve this error using the above-mentioned methods. Then there is a strong possibility of having an AirTag that contains some bug or fault in its hardware. In this case, I will strongly recommend you to contact the Apple Support team and ask them for a new device or replace it.

When you will contact Apple support executives then they will give you some troubleshooting tips which will be the same that are mentioned above. You should say that I have tried all these methods and still my device is not working properly. Then Apple will provide you with a new device for the defective piece for the warranty that Apple will provide you with these AirTags.
CONCLUSION:
If you come across an AirTag with an unreachable error then don’t worry. Try to fix this with the help of the above-mentioned steps. First of all, try restarting your iPhone. If the same problem comes you can go for other methods too like checking the battery status of AirTag’s, removing it from your Apple iCloud, and then reconnecting, resetting AirTag.
I can surely assume that you will be able to fix the AirTag not reachable problem from the above-mentioned methods. If not you can contact the Apple Support team and they will replace it for you.


Really informative 😀